 Add Row
  Add Element
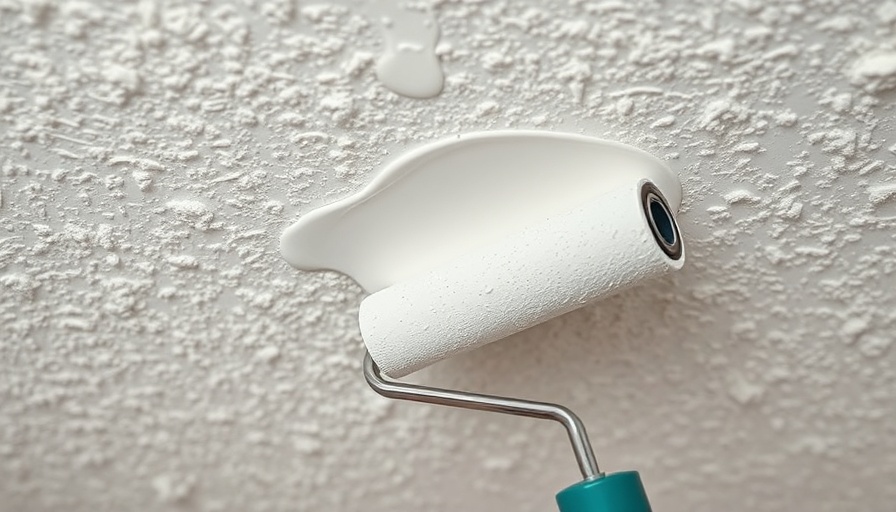
Unveiling the Charm of Popcorn Ceilings
For many homeowners, popcorn ceilings evoke a sense of nostalgia, reminiscent of the design trends of the 70s and 80s. While smooth ceilings have become the go-to for modern interior decor, popcorn textures still hold their own charm. However, as these surfaces are notorious for accumulating dust and dirt, many are faced with the dilemma of whether to refresh or completely remove them. In this guide, we delve into painting popcorn ceilings, a task that requires preparation and methodical execution.
The Safety First Approach: Asbestos Awareness
One crucial aspect to consider before undertaking this DIY project is the potential presence of asbestos in older popcorn ceilings. Asbestos is a serious health hazard, and homes built before the late 1980s are more likely to have this material. If you're unsure whether your ceiling contains asbestos, consider sending a sample for testing as recommended by local home improvement centers. Should testing be outside your budget, always err on the side of caution by wearing protective gear. If left undisturbed, painting over a popcorn ceiling is typically safe; however, proper safety measures are of utmost importance.
Essential Tools and Materials for a Flawless Finish
To achieve the professional look you're after, having the right tools and materials is key. Prepare your toolkit with the following essentials:
- Angled paintbrush
- Thick nap roller
- Drop cloths or plastic tarps
- Painter's tape for clean edges
- Ceiling paint and primer to ensure adherence
By selecting high-quality materials, you're setting the stage for a smoother painting process and a beautifully finished ceiling.
Step-by-Step Instructions for Painting
Here, we detail a practical step-by-step approach to painting your popcorn ceiling, ensuring minimal mess and maximum impact:
- Step 1: Preparation - Begin by thoroughly cleaning the ceiling to remove dust and particulate matter. Use a gentle cleaner that won't damage the texture.
- Step 2: Masking - Apply painter's tape around the perimeter where the ceiling meets the walls. This prevents any unwanted paint spills on your walls.
- Step 3: Protect Your Space - Lay down drop cloths to shield your floors and furniture from paint splatter. It's wise to dress in old clothing for added protection against any paint mishaps.
- Step 4: Priming the Ceiling - If your ceiling has not been painted recently or you notice stains, apply a primer first. This creates an ideal surface for the paint.
- Step 5: Painting the Ceiling - Use a thick nap roller to apply the ceiling paint. This allows you to cover the textured surface efficiently, ensuring even distribution without missing any crevices.
- Step 6: Final Touches - After the paint dries, remove the painter's tape carefully. This brings a sharp and clean finish to your work.
Why Investing Time in Home Improvement Matters
Beyond aesthetic appeal, updates like painting a popcorn ceiling contribute to the overall well-being of a home. Freshly painted ceilings can brighten an entire room and evoke feelings of both comfort and pride in one’s living space. Engaging in these DIY tasks not only enhances the home environment but also fosters a sense of accomplishment.
Final Thoughts: Refreshing Your Home
Embracing projects like painting your popcorn ceiling is a proactive step toward making your home reflect your style and preferences. Whether you plan to stay in your home for years or intend to sell it, maintaining its appearance boosts its value and livability. Dive into your next DIY project with enthusiasm, and relish the transformation your efforts create!


 Add Row
  Add
Add 

Write A Comment