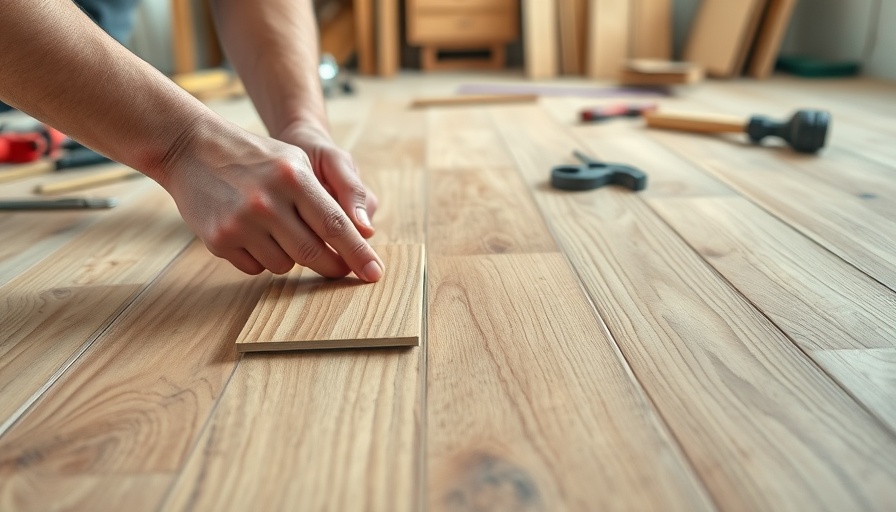
Understanding Vinyl Plank Durability and Repair
While vinyl plank flooring is renowned for its toughness and durability, it can still succumb to wear and tear over time. The good news? Repairing vinyl flooring is often achievable even for DIY enthusiasts. Whether it’s a scratch, dent, or a few overly damaged planks, addressing these issues is essential not just for aesthetics but for maintaining the floor's integrity.
Two Repair Methods Explained
When it comes to repairing damaged vinyl planks, there are primarily two methods that homeowners can consider. The first method involves simply unclicking and replacing the damaged portion of the plank, which is most effective if you have high-quality vinyl flooring. "If it's a name-brand product, you can expect to do this multiple times without adverse effects," says Gary Bernard of Holyoke Millwork. This approach allows for a seamless repair, effectively returning your flooring to its original state.
However, not all flooring supports this method. Lower quality vinyl may require a different approach. "In these cases, you may need to cut out the damaged section and glue in a replacement," warns Alex Ciocek of Summerlin Floors. Though this technique is a viable option, it's not the recommended choice as it changes the nature of the floating floor to a glue-down, which could lead to more future issues.
Essential Tools and Materials
Before beginning any repair work, gathering the right tools and materials is crucial. Essential tools include a chisel, circular saw, hammer, and oscillating saw with a plunge blade. For materials, you’ll need finish nails, a replacement plank, and superglue. Having everything prepared will not only streamline the process but also increase the chances of a successful repair.
Step-by-Step Guide to Repair
Follow these basic steps for a successful vinyl plank flooring repair:
- Remove the Baseboard: Use a utility knife to score along the top edge of the baseboard to separate it from the wall paint. With a hammer and pry bar, carefully remove it.
- Pry Up the Damaged Plank: Insert a pry bar beneath the last installed plank in the corner and pop it up gently to avoid causing damage to surrounding planks.
- Replace the Plank: Once the damaged plank is out, replace it with the new plank. For a high-quality floating floor, reconnect the planks accordingly.
- Reinstall the Baseboard: Once the replacement is in place and settled, reinstall the baseboard using finish nails to secure its position.
The Emotional Impact of Home Repairs
Beyond the technical aspects, it's also essential to recognize the emotional aspects of home repairs. Many homeowners find that repairing elements of their home provides a sense of accomplishment and pride. Especially for those who take on DIY projects, the act of fixing what’s broken can be a therapeutic exercise, alleviating stress and fostering a deeper connection to their living space. Creating a beautiful and well-maintained home enhances not only its value but also its soul.
Encouragement for DIY Enthusiasts
If you are contemplating tackling flooring repairs on your own, remember: it's not just about fixing what’s broken; it’s about nurturing an environment that reflects care and attention. Embrace the challenge as an opportunity to learn more about your space and build confidence in your home improvement skills.
For those who find themselves overwhelmed, don’t hesitate to reach out to professionals. Their expertise can save you time and potentially costly mistakes. Nevertheless, for those ready to dive in, the rewards of a successful DIY project can be profound.
 Add Row
  Add
Add 


Write A Comment