 Add Row
  Add Element
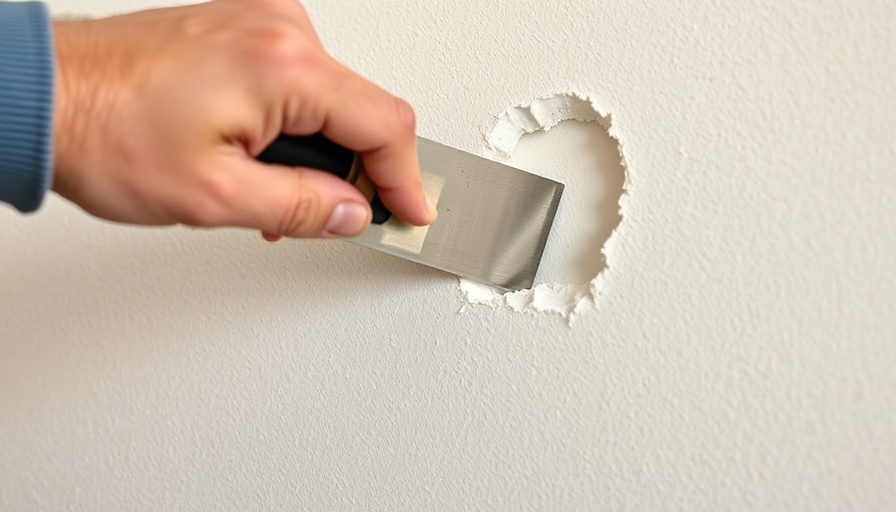
Mastering Drywall Repairs: Your Essential Guide to Flawless Walls
Understanding the technique to fix a hole in drywall not only enhances the appeal of your living space but also fosters a sense of accomplishment in handling household repairs on your own. Small dents and holes often appear without notice, whether from kids playing, furniture shifts, or the inevitable wear and tear of everyday life. But don’t fret! With just a few tools and some practice, you’ll be able to restore your walls to their former glory.
Why Knowing How to Fix Drywall Matters
The ability to repair drywall is not only a cost-saving DIY skill but also essential for maintaining aesthetics and home value. Cracked or damaged walls can affect not just the look of a room but also its overall ambiance. A well-maintained home directly correlates with comfort and well-being, which is crucial in today’s fast-paced world.
Your DIY Toolkit: What You Need
Before diving into the repair work, you’ll need the right equipment. Essential tools include:
- Putty knife
- Fine-grit sanding sponge
- Clean rags
- Spackle or joint compound
- Paint (to match the existing wall color)
Gather these before starting to ensure a smooth repair process.
If At First You Don’t Succeed: Common Mistakes to Avoid
Beginning a drywall repair can be overwhelming, especially when faced with unexpected challenges. One of the most common errors is attempting to sand spackle before it’s fully dried. Rushing this step can lead to messy results, ultimately requiring you to start over. Instead, embrace patience—allow time for the spackle to dry thoroughly!
Step-by-Step Guidance to Repair Small Holes
Here’s the practical approach to fixing small holes in your walls:
- Turn on a Work Light: Positioning a work light appropriately allows you to see all defects clearly.
- Sand Off Loose Drywall: Use your putty knife or sanding sponge to smooth out the area.
- Cleanse the Area: Remove all debris and dust using a damp rag for optimal adhesion.
- Apply Drywall Spackle: Adhere the spackle with a putty knife, covering the hole adequately.
- Sand Once More: After your spackle has dried, sand it down until smooth.
- Touch-Up Paint: Finally, apply paint to blend in the repaired area seamlessly.
Following these steps ensures that your repairs are not just practical but leave your walls looking pristine.
Future-Proofing Your Home Maintenance Skills
As you refine your abode repair arsenal, this skill can extend beyond just drywall. Embracing DIY projects empowers you to approach home maintenance with confidence. Consider learning about additional home improvement skills, such as minor plumbing fixes or appliance repair, to further enhance the livability of your home.
What This Means for Your Peace of Mind
Ultimately, being equipped with the know-how to tackle drywall repairs contributes not only to a cleaner aesthetic but instills a sense of agency over your living space. The emotional satisfaction accompanying successful home repairs can meaningfully impact your well-being, turning any dwelling into a personal sanctuary.


 Add Row
  Add
Add 

Write A Comment