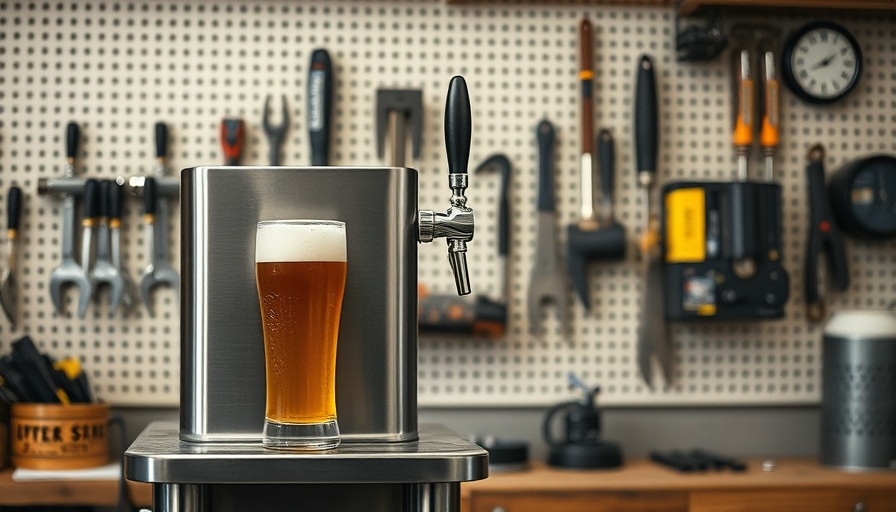
How to Craft Your Perfect Kegerator Experience
Imagine hosting a backyard barbecue or a small gathering, with the cool breeze around you, filled with laughter and conversations. Now, picture tapping into your very own kegerator, serving ice-cold, fresh beer or root beer, without the hassle of empty cans or bottles cluttering the area. Building a DIY kegerator isn’t just a fun project; it’s an investment in convenience, savings, and sustainability that can elevate your entertaining game.
Turning an Old Fridge into a Kegerator: The Benefits
Repurposing an old refrigerator into a kegerator is more than just a fun DIY project; it’s a smart financial decision. The average cost of purchasing disposable beer cans can add up quickly. With a kegerator, you’ll find that investing $100 to $300 is significantly cheaper over time. Kegs also keep beverages fresher for longer periods, reducing waste and providing an eco-friendly option for your celebrations. Not to mention, it’s a delightful feeling to pour your drink directly from the tap!
Essential Tools and Materials Needed
To get started with your kegerator transformation, you’ll need a few essential items. First, securing a reliable secondhand refrigerator is crucial, as this will be the backbone of your project. Next, obtaining a kegerator conversion kit is non-negotiable; it typically includes necessary components such as a faucet handle and regulators. Additionally, acquiring a food-grade CO2 tank is essential for dispensing your beverage of choice effectively.
Tools that will come in handy during your build include an adjustable wrench, a drill, and a 7/8” bi-metal hole saw, allowing for precise work with your refrigerator. Ensuring you have these tools on hand will make the process smoother and more efficient.
A Step-by-Step Guide to DIY Kegerator Construction
Ready to roll up your sleeves? Here’s a brief overview of steps to take for building your kegerator: - **Remove the shelves:** It’s crucial to clear out space in the fridge, allowing enough room for the keg and CO2 setup. - **Decide on CO2 placement:** Consider whether to position the CO2 tank inside or outside the fridge, impacting available space for kegs. - **Take careful measurements:** Precision is key in this project; ensure all components will fit perfectly, preventing future adjustments.
Following these initial steps, you’ll move on to installing your tap system, securely sealing everything together, and maintaining tidiness for a neat finish.
Ensuring the Perfect Pour: Temperature Matters
One of the often-overlooked aspects of a kegerator is the temperature control. Keeping your beer at the ideal temperature not only enhances flavor but ensures a perfect pour every time. Most homebrewers suggest maintaining a temperature around 38°F for optimal taste. Incorporating a thermostat into your setup will help monitor and manage this effectively.
Final Thoughts: Join the Kegerator Revolution!
Building a DIY kegerator is an electrifying project not only for craft beer enthusiasts but anyone who enjoys entertaining friends and family. By repurposing an old fridge, you’re making eco-friendly choices that lower costs and add a touch of flair to your gatherings. This endeavor celebrates creativity while creating delicious memories.
Why wait? Dust off that old refrigerator and start building your own kegerator today! Embrace the blend of fun and practicality, and serve up unforgettable moments fueled by great drinks.
 Add Row
  Add Element


 Add Row
  Add
Add 

Write A Comment