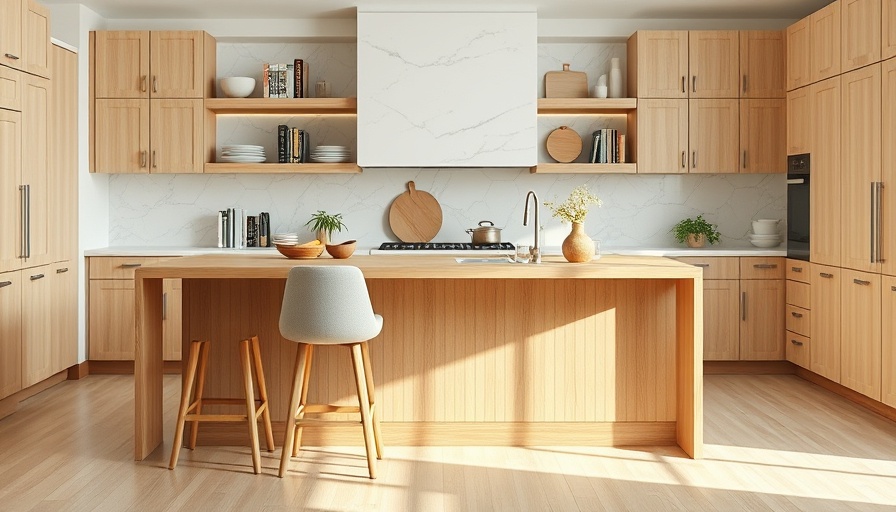
Transform Your Space: Building a Unique Kitchen Island
Have you ever dreamed of crafting a kitchen island that combines both style and functionality in your home? Building a kitchen island with seating is not only an excellent way to enhance your cooking and entertaining space, but it can also serve as a fun DIY project. In this guide, we will walk you through the essential steps to create a stunning island using IKEA cabinets, highlighting how you can achieve a custom look while sticking to an approachable budget of $1500 to $2000.
Gather Your Tools and Materials
Before starting your DIY journey, it’s crucial to gather all the necessary tools and materials. For this project, you’ll need tools such as a drill/driver, jigsaw, and clamps among others, as well as IKEA Sektion cabinets to form the base of your island. With the right tools and materials, you’ll set a strong foundation for a successful build.
Getting Creative with Design
The first step in crafting your kitchen island is to conceptualize your design. Though IKEA cabinets provide a functional starting point, you can make them unique with paint and finishes that coordinate with your kitchen aesthetics. Consider choosing a color that complements your existing cabinetry or a bold hue that makes a statement. Don’t hesitate to play around with different layouts and styles—this is your chance to let your creativity shine!
Step-by-Step Assembly
Start by assembling the IKEA cabinets according to the provided instructions. Use wood glue and precise measurements to ensure everything is level and secure, creating a sturdy structure. If you are unsure about any assembly steps, the online IKEA assembly instructions can be a valuable resource. Once assembled, you can focus on pre-painting the MDF panels, which will save you time during the finishing touches. This preparatory work helps streamline the process, ensuring a smoother workflow.
Enhancing Functionality with Seating
One of the standout features of your new kitchen island will be the seating area. To do this, ensure that the island is designed with ample overhang for comfortable bar stools or chairs. Think about how your kitchen functions—if it’s often a gathering spot, additional seating can enhance the space, making it both practical and inviting.
Budget-Friendly Solutions
Building your custom kitchen island doesn’t have to break the bank. By opting for IKEA as a starting point, you can save on cabinetry costs without compromising on quality. Additionally, many tools and materials can often be borrowed or rented, reducing overall expenditure. Remember, this project is great for honing your DIY skills and ensuring you get exactly what you want in your kitchen.
Final Touches and Personalization
Once the island is assembled and painted, focus on the finishing touches. Adding decorative elements such as open shelving can enhance functionality and allow for personal expression through decor. Consider displaying cookbooks, plants, or unique kitchen ware to make the island feel like a natural extension of your home.
Inspiration for Future Projects
As you complete your kitchen island, take a moment to reflect on other DIY projects you could tackle around your home. Whether it’s a new countertop or a refresh of your kitchen cabinets, the skills gained from this project are transferable. With every new challenge, you'll not only elevate your home but also grow in confidence.
So, gather your tools, unleash your creativity, and transform your kitchen into the heart of your home with a beautiful self-built island. Happy DIY-ing!
 Add Row
  Add Element


 Add Row
  Add
Add 

Write A Comment